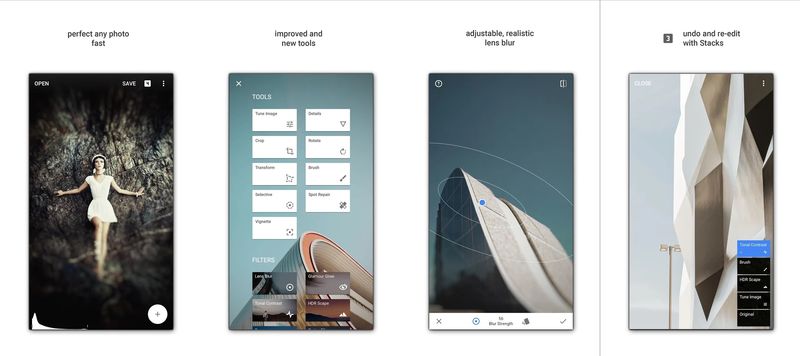
Overall, I liked the experience provided by Snapseed. After you select an image from the library, or take a photo from within the app, you’ll see a selection of options, such as autocorrect, tuning for small tweaks, cropping, straightening and a variety of filters. My favorite option was selective adjust, which lets you place pins on the image and manually adjust small portions of the photo for brightness, saturation and contrast.
Each time you select a filter or adjustment option the app will pop up a screen of directions that’s accessible at any time via the question mark. The app relies primarily on swiping for its method of control, and this felt both natural and immersive. Tapping and holding the photo provides a different function, depending on the effect you’re working with, but typically holding the screen and swiping vertically will flip among various options, such as brightness, contrast, grain, strength or saturation. Whichever option is highlighted in blue will be the level you’re currently adjusting. Swiping horizontally will increase or decrease the level, and you’ll see the counter at the bottom change as you move your finger.
You can use the photo icon in the upper right to compare the image with its original as you work, and after you’ve saved your changes (using the play sign at the bottom right), you can tap the image to see the original. Don’t forget to save your finished image to the camera roll; share it via email, Flickr or Facebook, or print directly from the app. I found Snapseed to work equally well on both iPhone 4 and original iPad, and I think the option for RAW files for iPad, those with the Camera Connector kit, might entice some users.